Mavic 3 Enterprise Image Capture Settings for Spot Scout & Mosaics
The DJI Mavic 3 Enterprise ships with default settings that need to be changed before capturing data. Some settings vary by type of mission and will need to be adjusted between flights.
Settings for all Missions
Setting | Value |
Dewarping setting for Spot Scout and mosaic missions.
Mission Type | Dewarp |
 |  |
Dewarping Disabled | Dewarping Enabled |
To view and change settings:
Power on your drone and remote controller.

Enter the Camera View.
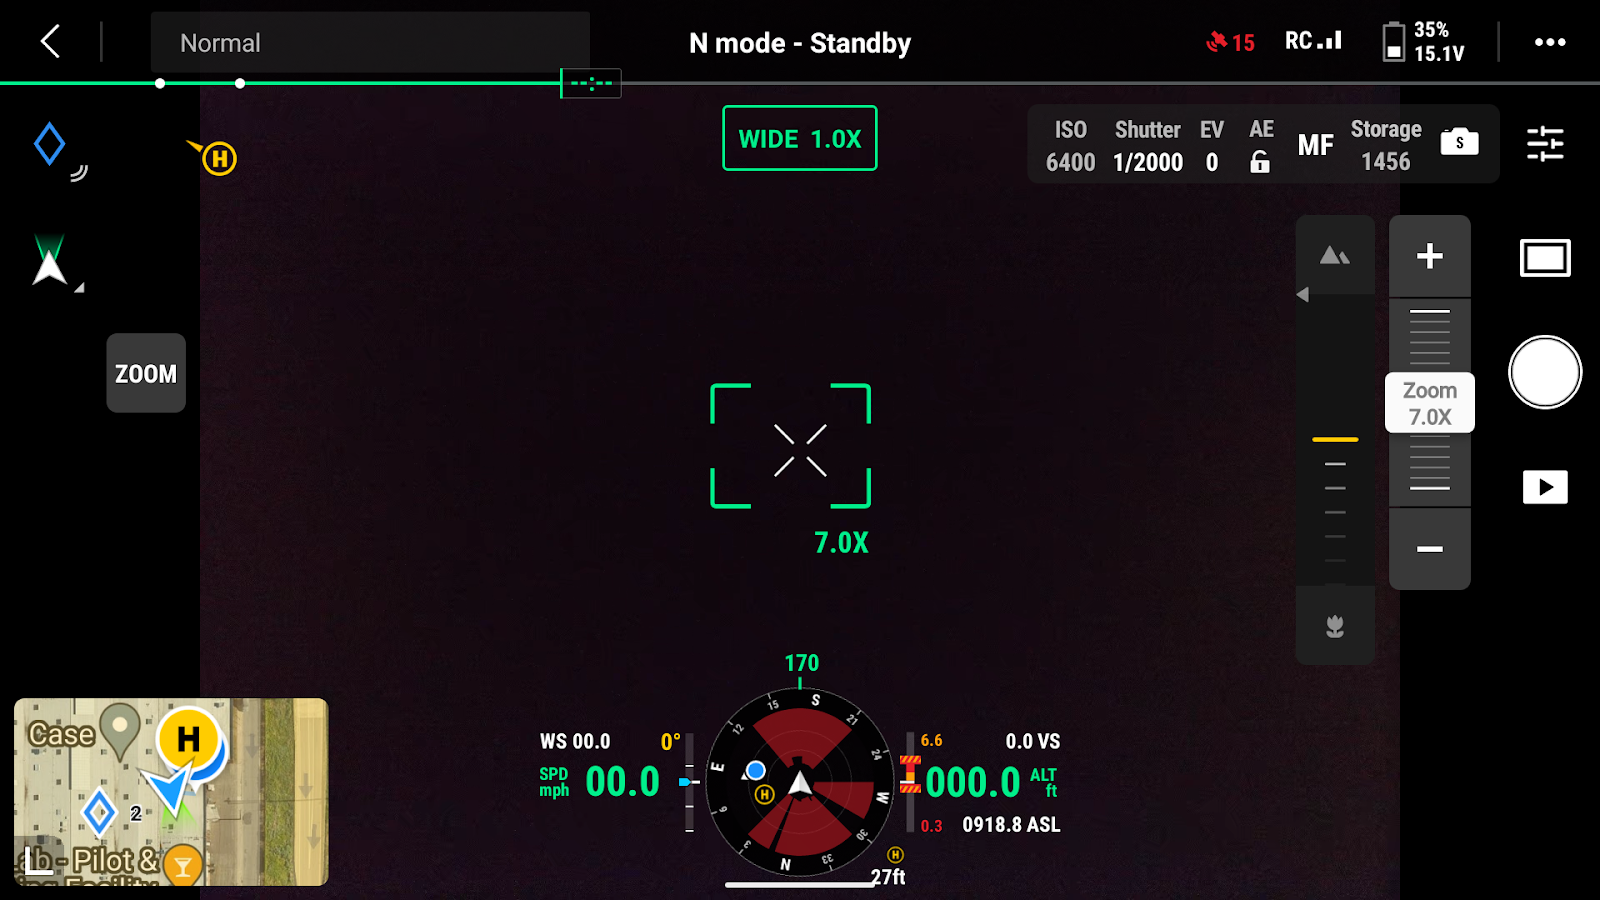
The settings bar is located at the top right of the screen. Click the settings icon on the far right side to access the camera menu.
Image Ratio: This is set to 4:3 by default, meaning that the sensor will capture uncropped images. Different ratios will not utilize the full sensor. Leave the ratio on 4:3.
Image Format: This is set to RAW by default. Change the image format to JPG. The JPG file format is required to process and analyze the images you capture.


Mechanical Shutter: This is turned off by default. Make sure you toggle ON the mechanical shutter, this helps to prevent image distortion.

Dewarping: This is turned off by default. Depending on your mission type you will need to change this setting. Spot Scout missions require Dewarping to be enabled. Orthomosaic missions require Dewarping to be Disabled.

Related Articles
FAQ: FieldAgent - Can I perform Tassel Counts with my Mavic or Phantom?
WARNING: Fly at your own risk. There are dangers of flying a drone at lower altitudes. Follow the directions below to carefully plan a safe and effective mission. Yes, tassel counts will work with the DJI Phantom 4 Pro or the DJI Mavic 2 Pro (with ...FieldAgent Mobile - Image Capture Area
Overview Ever wonder if you’re getting good enough field coverage during your drone flights to create good quality orthomosaics? With the Image Capture Area Overlay, FieldAgent Mobile can help create informed flight plans to capture the necessary ...FieldAgent Mobile - DJI Flight Plan Export
Compatible Drones Newer DJI drones, including the Matrice 300, Matrice 350 , and the Mavic 3 Enterprise Series, require missions to be launched with the DJI pro remote controller. This guide will explain how to plan a flight in FieldAgent Mobile (iOS ...Single Sensor Image Capture
How does my Single Sensor capture images? Sentera Single sensors will capture images whenever they are powered on and their trigger conditions are met. This occurs whether you’re flying with FieldAgent Mobile, or any third party application. Trigger ...Single Sensor User Manuals
These guides provides basic instruction on Aircraft Setup, Sensor Usage, and Flight Operations. If you need additional information, call Support at Sentera at 612-204-2000. Contact Sentera Customer Support: Create a Support Ticket Here Email: ...