FieldAgent - Create, Edit, and Delete a Field Boundary
Field Agent Web
Create a Field Boundary
Draw Rectancle
- Select the Draw Rectangle button.
- Click on the map to place a corner of the rectangle.
- Move your cursor to adjust the size and shape of the rectangle.
- Click to place the opposing corner and finalize the rectangle.
Draw Polygon
- Select the Draw Polygon button.
- Click on the map to place the first point. Continue placing points to define the shape and size of your polygon.
- Click the first or last point to finalize the polygon.
Draw Circle
- Select the Draw Circle Button.
- Click on the map to place the center of your circle.
- Move your cursor to adjust the radius of your circle.
- Click to confirm the size.
Edit
- Select the Edit button.
- If you have multiple boundaries in one field, click the boundary to select it. The points of the boundary will turn red once selected.
- Click along the sides of the boundary to add additional points.
- Click and drag any point to edit the boundary.
Move
- Select the Move Button.
- If you have multiple boundaries in one field, click the boundary to select it. its outline will turn red when selected.
- Click to drag the boundary
Rotate
- Select the Rotate Button.
- If you have multiple boundaries in your field, click the boundary you want to rotate. The field boundary will be inside a red box once selected.
- Click and drag the red circle on top of the box to rotate the boundary.
Cut
- Select the Cut Button.
- Click on the map to place the first point. Continue placing points to define the shape and size of your cut area.
- Click the first or last point to finalize the shape, and delete that areas from your existing field boundaries.
7. Delete a field boundary with the Erase Tool if necessary.
Erase
- Select the Erase Button
- Click on the boundary to delete it from the field.
8. Select Save to upload your field to FieldAgent. It will now be accessible with FieldAgent Mobile and Desktop.
Edit a Field Boundary
FieldAgent Desktop
Create a Boundary
Open FieldAgent on your desktop.
Right-click where you want to place the field, select Add Field Here, enter the name of the field, click Save. A pin drop is added to the field.
Click on the pin drop. A temporary field boundary displays.
From the left-hand Zones menu, click on the Field Boundary gear icon, select Edit zone. The temporary field boundary is highlighted.
The field boundary can now be manipulated. A few options exist to allow you to create the exact boundary desired.
Move: The field boundary can be moved by clicking the crosshairs in the middle of the shape and dragging it.
Delete the Current Boundary: Select remove and then click on the boundary to be removed.
Alter the New Shape Drawing Type: Select a Circle, Polygon, or Rectangle from the Draw menu at the top of the window; whichever is most representative of the field. Begin drawing the new boundary.
Manipulate the Existing Corners: Click+drag an existing corner to the actual corners of the field.
Create New Corners: Click+drag anywhere on an exsisting line to add a new corner point.
Click Save on the Zone Editing Help dialog box in the lower right of the screen.
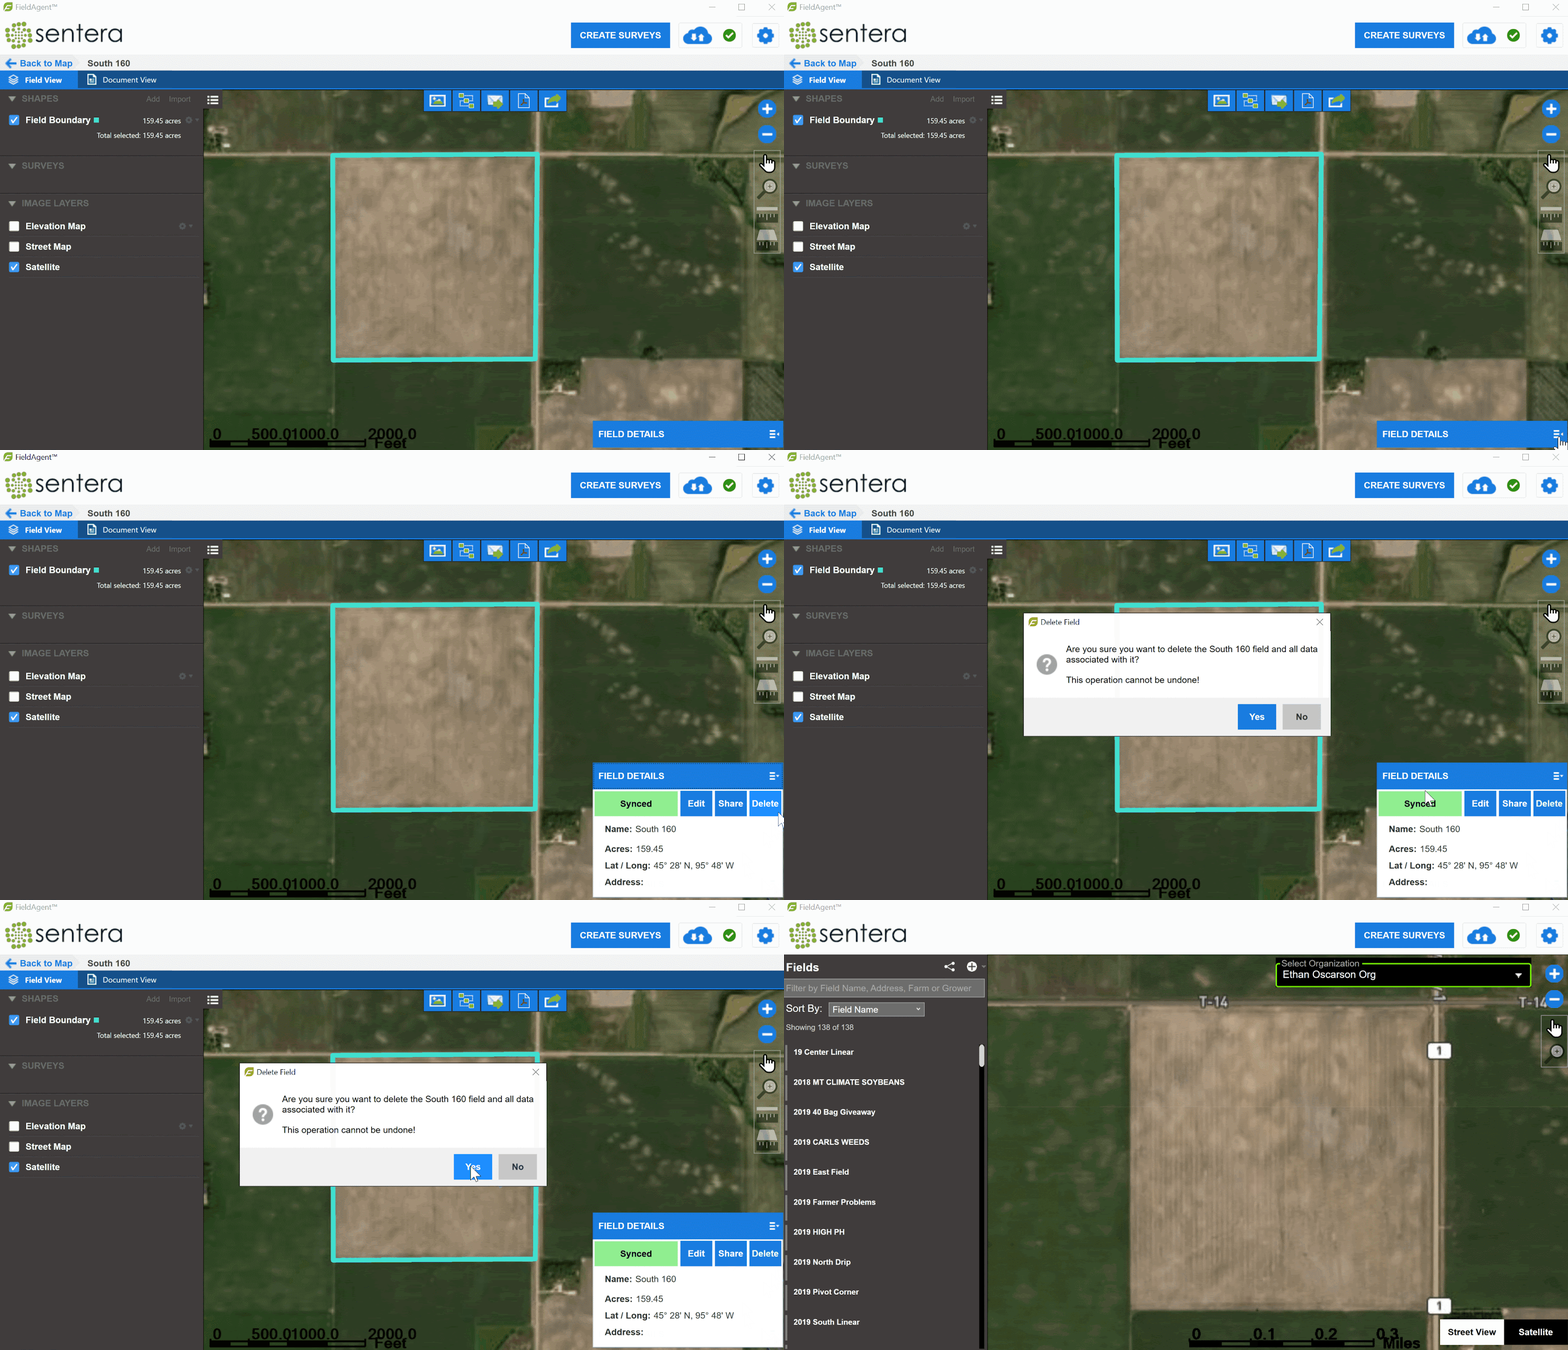
Delete a Field Boundary
- From the Field Boundary main menu, click the gear icon and select Edit Zone.
- Select Remove from the Draw menu, click on the field boundary, click Save. The field boundary is now deleted.

Add a Call Out Area in the Field with a Shape File
- From the Shapes main menu, click Add.
- Select a shape from the Draw menu.
- Drag to draw a shape within your field boundary, making sure not to overlap the existing field.
- Click Save.
- Enter a name for the shape and add a shape color.
- Click OK.
Related Articles
FieldAgent Desktop - User Guide
Field Agent Desktop User Guide English Engineered in Minneapolis, MN, USA 14 April 2022 Doc #67002 Rev E Copyright © 2022. All rights reserved. Trademark Notice FieldAgent, AgVault, and Incident Light Sensor are registered trademarks of Sentera. ...FieldAgent Web - User Guide
Click below to download the FieldAgent Web User GuideFieldAgent Mobile - Flying a Field using an Existing Field Boundary (Video)
Make sure fields are already synced in FieldAgent? Just find the field boundary of the field you would like to fly in the FieldAgent iOS app and swipe to fly! The Video Below will walk you through how to use an existing field boundary to plan out a ...FieldAgent - Create and Share a Report
Create a Report in FieldAgent on Desktop FieldAgent Desktop has two options for creating reports; Basic and Detailed. Basic Report To generate a basic report: Open FieldAgent on Desktop. Navigate to the field you would like to generate a report on. ...FieldAgent - Share a Field
Fields can be shared with any email address. If the email is associated with a FieldAgent account, the share will last indefinitely. If the email is not associated with a FieldAgent account, the share will last for 365 Days. A video guide can be ...